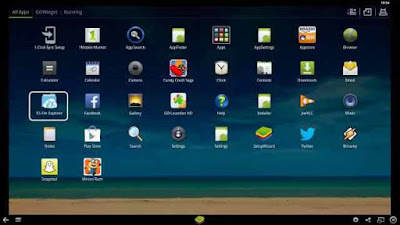
Bluestacks Is an Android application player that enables you run applications ranging from Java tablets on system, but because it stores its operating system and incidentally all of it’s files and folders in a “image” file, sometimes it can be difficult to share things between content in BlueStacks and your PC.
So by popular demand, I have finally gotten around to detailing the process I use to access downloaded files from within Bluestacks on my PC. What follows is a quick 5 step tutorial on how you can do the same.

So by popular demand, I have finally gotten around to detailing the process I use to access downloaded files from within Bluestacks on my PC. What follows is a quick 5 step tutorial on how you can do the same.
Steps To Transfer Files From Bluestacks To PC
- Within BlueStacks, You will need to search for and install the ES File Explorer App.

- After you have installed ES File Explorer, go ahead and open it. Browse your file structure until you come across the root folder you wish to gain access to in Windows. In the example below, I’ve chosen the download folder which will be:
- Once you’ve chosen your folder, Hold down the left mouse button to select it.
Then click the Copy button highlighted in red as shown above.
- Then you just need to browse to the Shared folder in BlueStacks and use the paste feature to make the folder accessible in Windows!
BlueStacks Shared Folder
/storage/sdcard/windows/bstsharedfolder/
OR
/sdcard/windows/bstsharedfolder
- Finally – To access your shared folder in Windows, simple browse to the location as shown in below picture:
That should do it!
You should now be able to easily access your files and folders within Bluestacks on your PC! For even easier access you can create a shortcut to the BlueStacks shared folder on your desktop. Please let me know if you encounter any hurdles along the way or if you would like me to explain any part of the process in more depth.


Post a Comment